








SJCAM C100 Pro First Time Setup Guide: Step-by-Step for Beginners
The SJCAM C100 Pro is one of the lightest and most convenient 4K POV action cameras available today. Weighing just 32 grams, it is designed for true hands-free recording with its magnetic pendant system. Whether you plan to use it for travel, daily vlogging, cycling, or motorcycle riding, getting the camera set up correctly the first time will save you frustration and help you start recording right away.
This complete beginner’s guide walks you through every step of the first-time setup process for the SJCAM C100 Pro, based on official instructions. Follow these simple steps and your camera will be ready in just a few minutes.

What You Need Before Starting
Before powering on your C100 Pro for the first time, prepare the following items:
- A compatible microSD card (sold separately; high-speed Class 10 or U3 recommended, up to the supported capacity)
- A USB-C charging cable (usually included)
- A power adapter or computer USB port for charging
- A small pin or paperclip (only needed if you ever need to reset the camera)
Pro Tip: Fully charge the camera before your first use. This helps maximize long-term battery health.
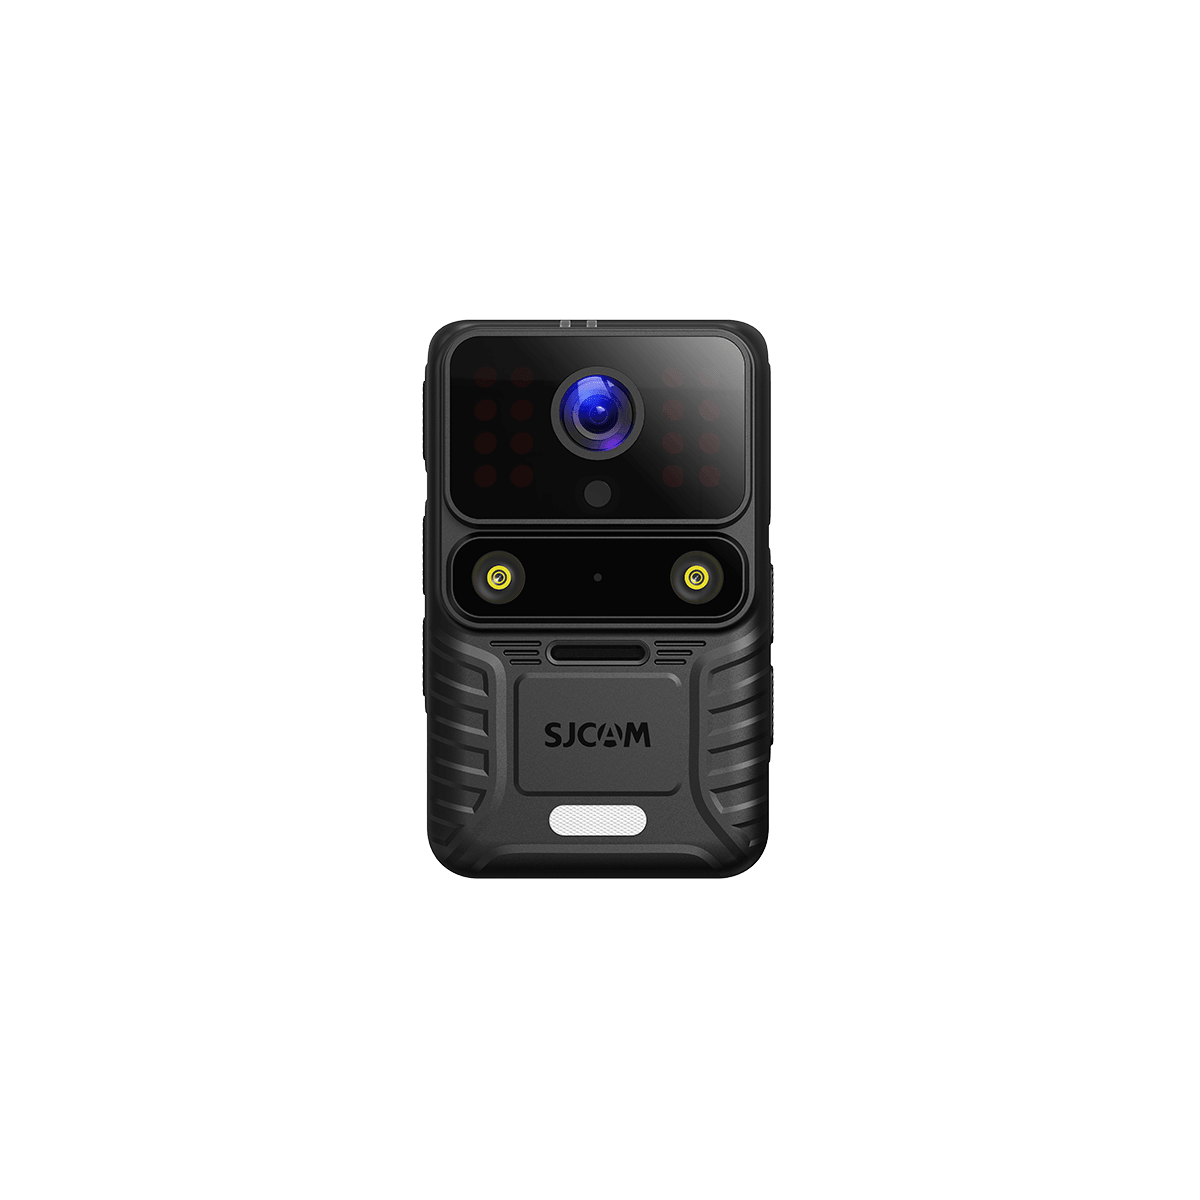
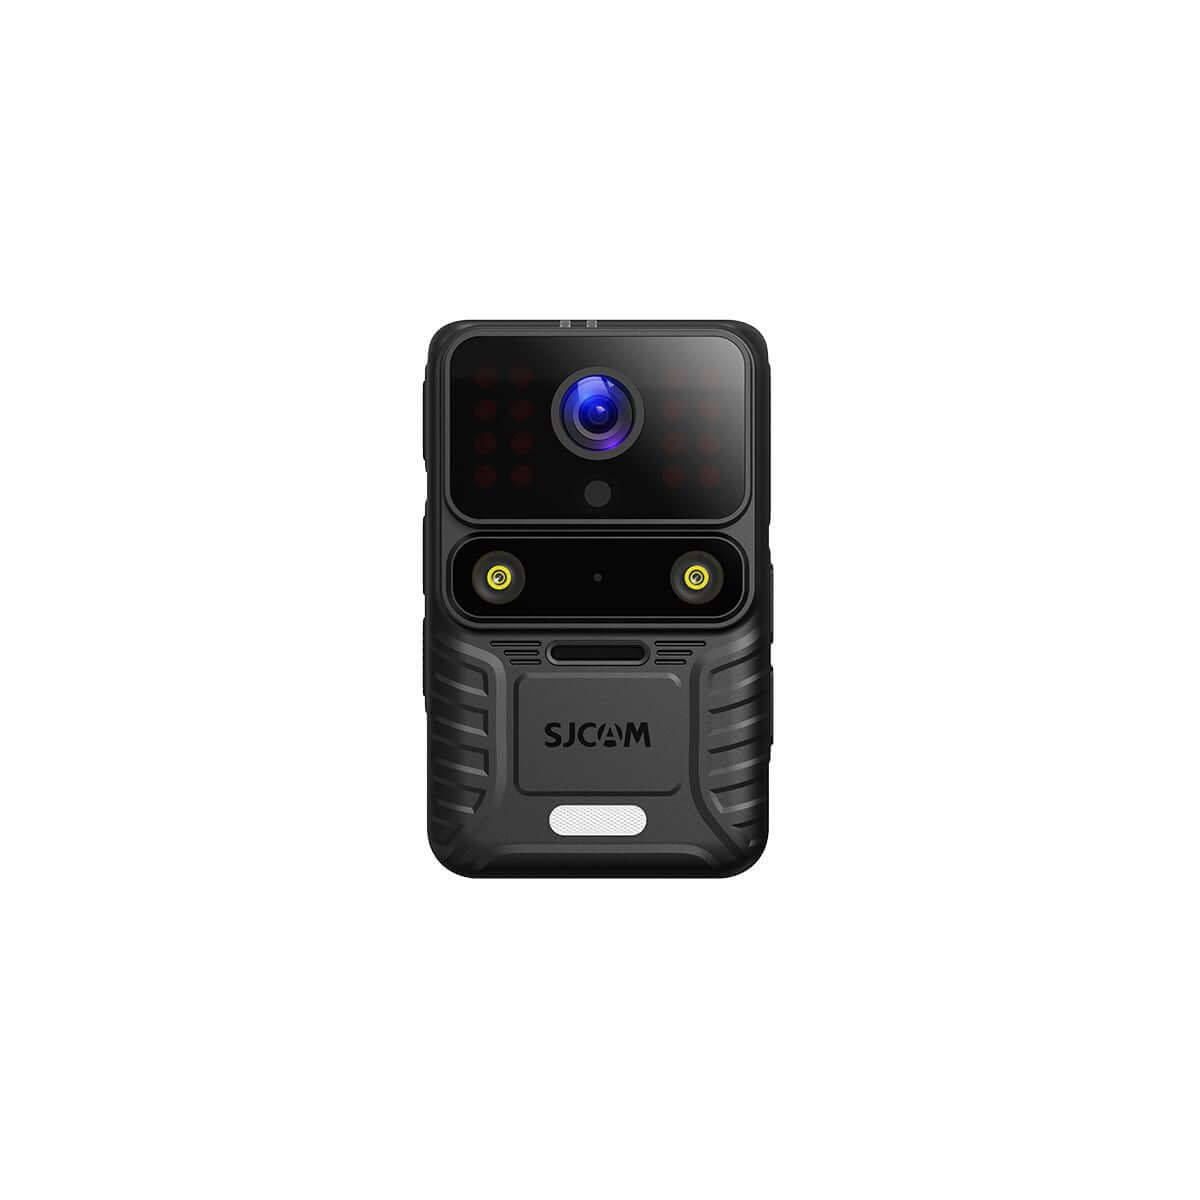
Step 1: Hardware Overview
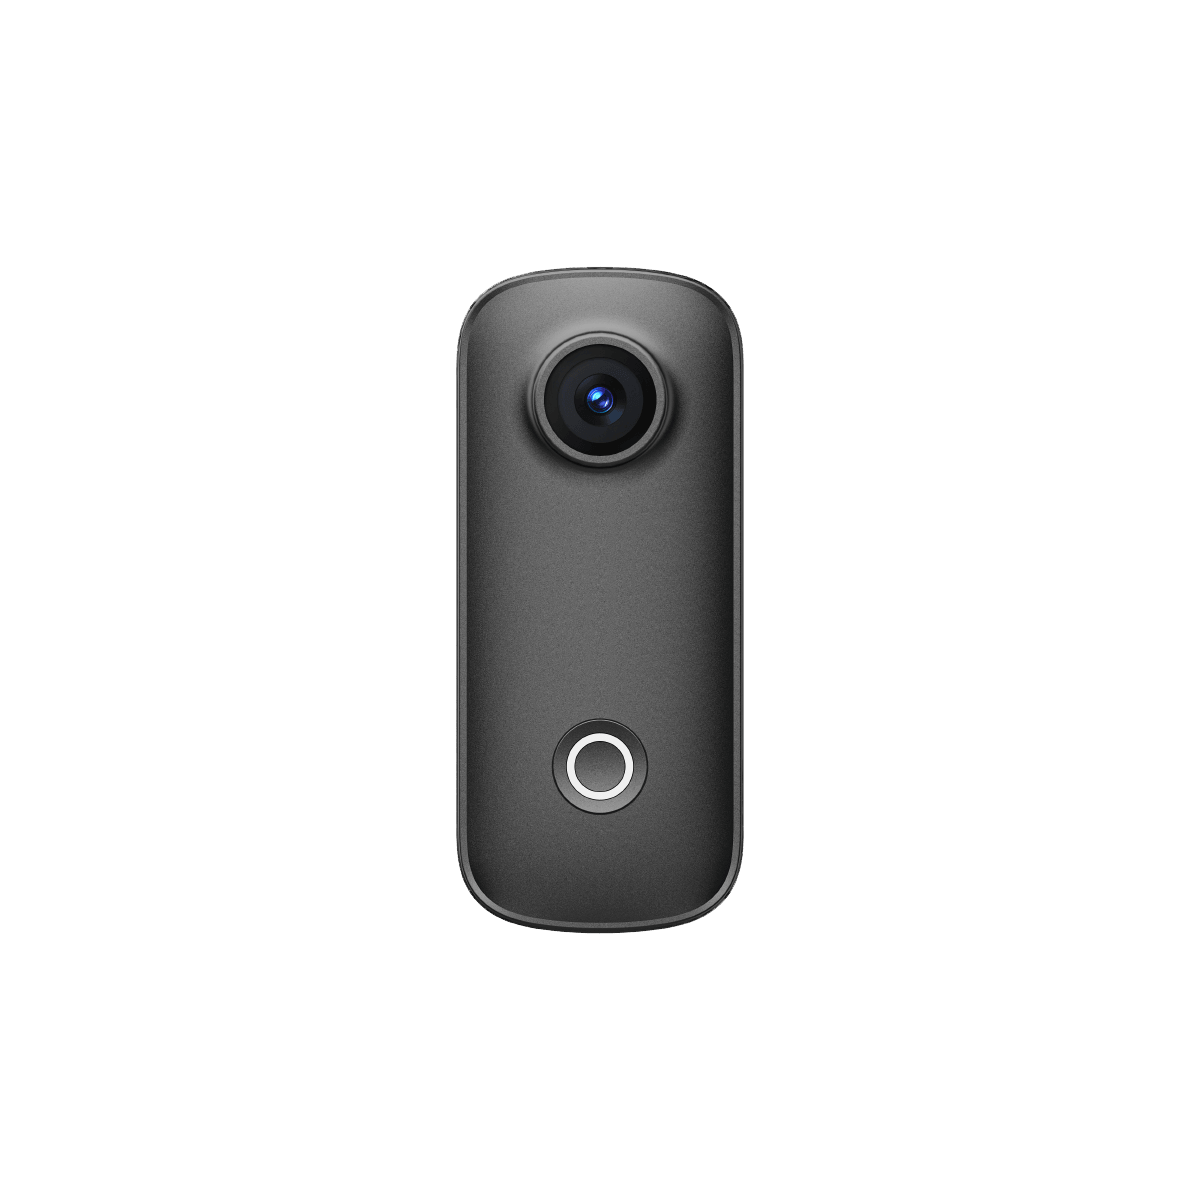
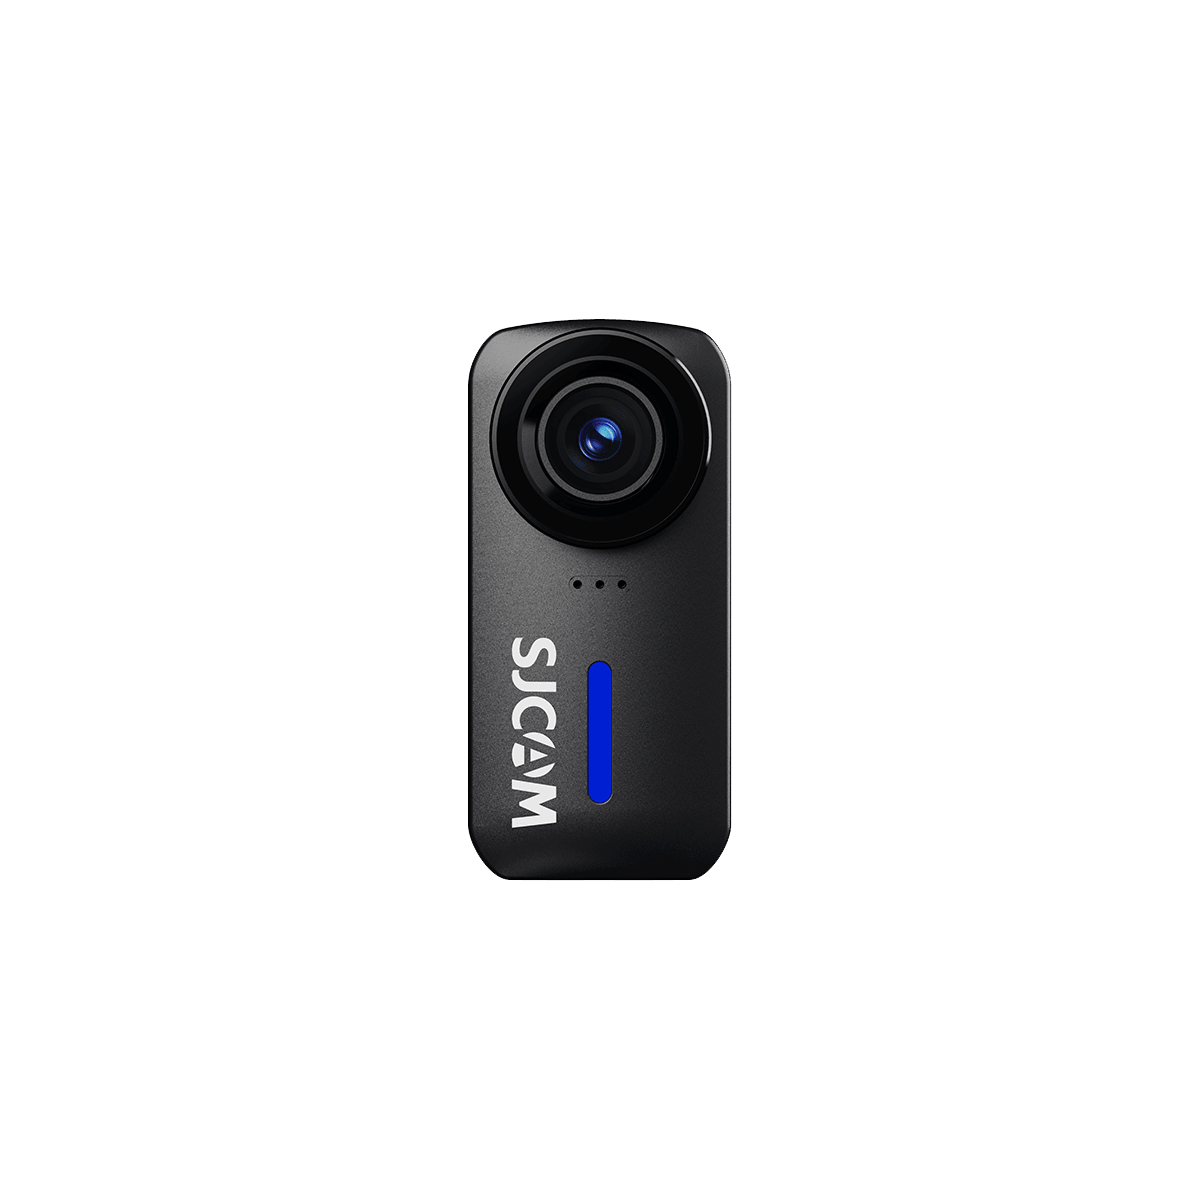
Take a moment to familiarize yourself with the camera body:
- Status LED – Indicates power, recording, and charging status
- Built-in microphone—captures audio
- USB-C port – Used for charging and data transfer
- microSD card slot – Located on the side or bottom depending on the exact unit
- Power/Record button – The main single-button control
- Reset pinhole—A small hole used to restart the camera if it becomes unresponsive
Understanding these parts will make the rest of the setup much easier.
Step 2: Install the microSD Card
- Locate the microSD card slot on the camera.
- Insert the microSD card in the correct direction (usually with the metal contacts facing the proper side—follow the diagram on the camera or in the manual).
- Push the card in gently until it clicks into place.
Important: Do not force the card. If it does not go in smoothly, check the orientation and try again. Always format the new card in the camera before recording important footage.
Step 3: Charge the Camera
- Connect the USB-C cable to the camera’s USB-C port.
- Plug the other end into a power adapter or computer.
- Observe the indicator light:
- The light stays red while charging.
- The light turns off when the battery is fully charged.
It is recommended to complete a full charge before the first use. Avoid using the camera while it is charging for the very first time if possible.
Step 4: Power On, Record, and Power Off
The C100 Pro uses a simple single-button operation, which is ideal for beginners.

To turn the camera on:
Press and hold the power button for about 1 second. The camera will power on and be ready to shoot.
To start recording:
Press the power button once. Recording will begin.
To stop recording:
Press the power button again.
To turn the camera off:
Press and hold the power button for about 4 seconds until the camera powers down.
That’s it—the basic operation is intentionally kept very simple so you can focus on capturing moments instead of navigating complicated menus.
Step 5: How to Reset the Camera (If It Freezes)
If the camera becomes unresponsive or freezes:
- Locate the small reset pinhole on the side of the camera.
- Gently insert a pin or paperclip into the hole and press.
- The camera will power off automatically.
- Turn it back on manually by pressing and holding the power button.
This reset method is safe and does not delete your footage or settings in most cases.
Recommended First-Time Settings
After the basic setup, consider these beginner-friendly settings:
- Resolution: Start with 4K for the best quality, or 1080p if you want longer recording times and smaller files.
- Stabilization: Keep it enabled for smoother footage.
- Loop recording or voice control: Enable if available and useful for your needs.
You can adjust these settings through the SJCAM X app after connecting the camera via Wi-Fi.
Frequently Asked Questions (FAQ)
What size microSD card does the C100 Pro support?
Check the latest official specifications, but most current SJCAM models support high-capacity cards. Always use a reputable high-speed card.
Why is the indicator light red?
Red means the camera is charging. It will turn off when fully charged.
Can I use the camera while charging?
Yes, but for the first charge it is better to let it complete a full cycle.
What should I do if the camera does not turn on?
Ensure it has sufficient battery. If it still does not respond, try the reset pinhole method.
Do I need to format the microSD card?
Yes. Format the card in the camera before first use for best compatibility and performance.
Final Tips for New Users
- Always insert and remove the microSD card while the camera is powered off.
- Keep a spare charged battery or power bank if you plan long recording sessions.
- Clean the lens regularly, especially after outdoor use.
- Pair the camera with the official SJCAM X app for easier control, live preview, and firmware updates.
Ready to Start Shooting?
The SJCAM C100 Pro is designed to be simple enough for complete beginners while still delivering sharp 4K POV footage. Once you complete the steps above, you are ready to mount it with the magnetic pendant and start capturing hands-free video.
Looking for the official SJCAM C100 Pro?
Visit the product page on sjcamstores.com to check current availability, bundles, and compatible accessories such as waterproof cases, extra mounts, and wireless microphones.
Start with the correct setup, and your C100 Pro will become one of the easiest and most useful cameras in your gear kit. Enjoy your first recordings!


