






How to Mount an Action Camera on a Motorcycle Helmet (Complete Guide for Better POV)
Recording your rides allows you to capture scenic roads, exciting journeys, and unforgettable moments from a first-person perspective. A reliable motorcycle camera setup can help riders create immersive POV footage while improving safety by keeping their hands focused on riding.
However, getting the best footage is not only about choosing the right camera—proper helmet mounting plays an equally important role. The right position, mounting method, and camera angle can reduce vibration, improve stability, and ensure your videos capture the true feeling of every ride.
In this guide, we will show you how to mount an action camera on a motorcycle helmet, choose the best mounting position, and create smoother motorcycle-riding videos.

Why Mount Your Action Camera on Your Helmet?
Helmet mounting remains one of the most popular choices for motorcycle riders because it closely matches what your eyes see on the road. Unlike handlebar or chest mounts, a helmet-mounted camera follows your head movements naturally, allowing viewers to look into corners and anticipate turns just as the rider does.
Other benefits include:
- Captures an authentic first-person riding perspective
- Better visibility when checking mirrors or looking through corners
- Easy to move between motorcycles
- Compatible with most action cameras
- Requires no modifications to the motorcycle itself
For riders creating travel videos or motorcycle vlogs, helmet-mounted footage often feels more immersive because viewers experience the ride from the rider's point of view rather than from a fixed position on the bike.
What You'll Need Before Installation
Preparing everything before you begin makes the installation easier and helps ensure a secure mount.
Essential Equipment
- An action camera
- Motorcycle helmet
- Curved adhesive helmet mount
- Quick-release buckle
- Thumb screw
- Alcohol wipes or isopropyl alcohol
- Microfiber cloth
- Safety tether (recommended)
If you're using an adhesive mount, always choose one designed specifically for curved helmet surfaces. Generic adhesive pads may not provide the same level of durability, especially during long rides in hot weather or heavy rain.
Pro Tip: Never install an adhesive mount immediately after washing your helmet. Make sure the surface is completely dry before applying the adhesive.
Step-by-Step Guide: How to Mount an Action Camera on a Motorcycle Helmet
Step 1: Choose the Best Mounting Position
Before attaching anything, decide where the camera should sit.
Each position offers different advantages depending on your riding style.
| Mount Position | POV Quality | Stability | Wind Noise | Best For |
|---|---|---|---|---|
| Chin | Excellent | Excellent | Low | Daily riding, touring, vlogging |
| Side | Very Good | Good | Medium | Modular helmets |
| Top | Good | Good | High | Adventure and off-road riding |
| Chest | Good | Excellent | Very Low | Off-road and trail riding |
For most riders, the chin position provides the best balance between stability, visibility, and comfort.
Step 2: Prepare the Helmet Surface
Many riders underestimate this step, but surface preparation has a significant impact on how securely the mount stays attached.
Start by selecting a smooth area on the helmet shell that matches the shape of your adhesive mount. Clean the surface thoroughly with isopropyl alcohol to remove dust, oils, wax, and road grime.
Allow the helmet to air dry completely before attaching the mount.
Avoid using household cleaners, as they may leave behind residues that reduce adhesive strength.
Common Mistake
Applying an adhesive mount to a dirty or slightly damp helmet can weaken the bond, increasing the risk of the mount loosening during long rides or in hot weather.
Step 3: Install the Adhesive Mount Correctly
Peel away the protective backing and carefully align the adhesive mount before pressing it onto the helmet.
Once the mount touches the helmet, avoid repositioning it. Firmly apply pressure across the entire adhesive pad for around 30–60 seconds to ensure full contact.
Although the mount may feel secure immediately, resist the temptation to install the camera right away.
For the strongest bond, allow the adhesive to cure for at least 24 hours before riding. If possible, wait up to 48 hours, especially if you'll be riding at highway speeds or in hot weather.
Using the camera before the adhesive has fully cured is one of the most common reasons helmet mounts fail prematurely.
Step 4: Attach the Camera Securely
Once the adhesive mount has fully cured, it's time to attach your action camera.
Slide the quick-release buckle into the mount until you hear it click into place. Then secure the camera using the thumb screw, making sure it's tightened firmly by hand. The camera should feel stable without any noticeable movement when you gently shake the helmet.
If your setup includes extension arms or angle adapters, keep the assembly as compact as possible. While extension arms can help achieve a better viewing angle, they also increase leverage, making the camera more susceptible to vibration on rough roads.
For riders who frequently travel at highway speeds, a compact setup almost always produces steadier footage than a long, articulated mount.
Don't Skip the Safety Tether
A safety tether is inexpensive but can save both your camera and other road users.
Attach one end of the tether to the camera housing and the other to a secure point on the helmet. If the adhesive mount or thumb screw fails unexpectedly, the tether helps prevent the camera from falling into traffic.
This extra step is especially valuable for long-distance touring, off-road riding, or riding in hot weather, where adhesive mounts may experience additional stress.
Expert Tip:
Before every ride, check the thumb screw by hand. Engine vibration can gradually loosen mounting hardware over time, even if everything felt secure on your previous ride.
Step 5: Adjust the Camera Angle for the Best POV
Even a perfectly mounted camera can produce disappointing footage if it's pointed in the wrong direction.
One of the most common mistakes beginners make is aiming the camera too high. The result is a video filled with sky while much of the road disappears.
Instead, wear your helmet, sit on your motorcycle in your normal riding position, and preview the camera angle using your camera's companion app or front display (if available).
A Good Starting Composition
For most road riding, a balanced frame should include:
- 60–70% of the road ahead
- 20–30% horizon and surrounding scenery
- 10–20% motorcycle cockpit or windscreen
This composition gives viewers a natural sense of speed while still showing the environment and a small portion of the motorcycle for context.
If you're recording twisty mountain roads, avoid pointing the camera too low. Leaving more space toward the top of the frame helps capture upcoming corners and makes the ride feel more immersive.
Check the Horizon
A tilted horizon is surprisingly distracting.
After adjusting the angle, record a short 20–30 second test clip and review it before heading out. The horizon should appear level, and the road should stay centered during normal riding.
Taking a minute to make this adjustment can save hours of disappointment after a full day of filming.
Step 6: Test Everything Before You Ride
Before starting a long ride, perform a quick equipment check. Professional motorcycle content creators rarely leave without testing their setup first, and it's a habit worth adopting.
Real-World Tip:
During extended summer rides, avoid leaving your helmet in direct sunlight for long periods. High temperatures can soften some adhesive pads, especially if they haven't fully cured or are several years old. Storing your helmet in the shade or inside a top case when parked helps prolong the life of your helmet mount.
Which Mount Produces the Best Video Quality?
Video quality isn't determined solely by camera resolution. The position of the camera significantly affects how immersive and stable the footage feels.
Helmet Mount
The footage feels dynamic because viewers naturally follow every glance and head movement. This is why many motorcycle vloggers and travel creators prefer helmet-mounted cameras.
Chest Mount
Footage appears smoother over rough terrain, but it can feel disconnected from the rider because the camera doesn't look where the rider looks.
Handlebar Mount
This perspective is steady and consistent, making it ideal for showcasing the motorcycle or the road ahead. However, it lacks the human element that makes first-person riding videos engaging.
Motorcycle Camera Helmet Mount vs. Handlebar Mount: Which is Safer?
Recommended SJCAM Cameras for Motorcycle Riding
A secure helmet mount is only part of the setup. To capture smooth, detailed footage on the road, you'll also need an action camera that can handle vibration, changing light conditions, and long hours of riding.
The best camera depends on how you ride. Whether you're commuting through the city, touring across scenic highways, or tackling off-road trails, choosing the right model can make a noticeable difference in your footage.
| Riding Style | Recommended Camera | Why It's a Good Fit |
|---|---|---|
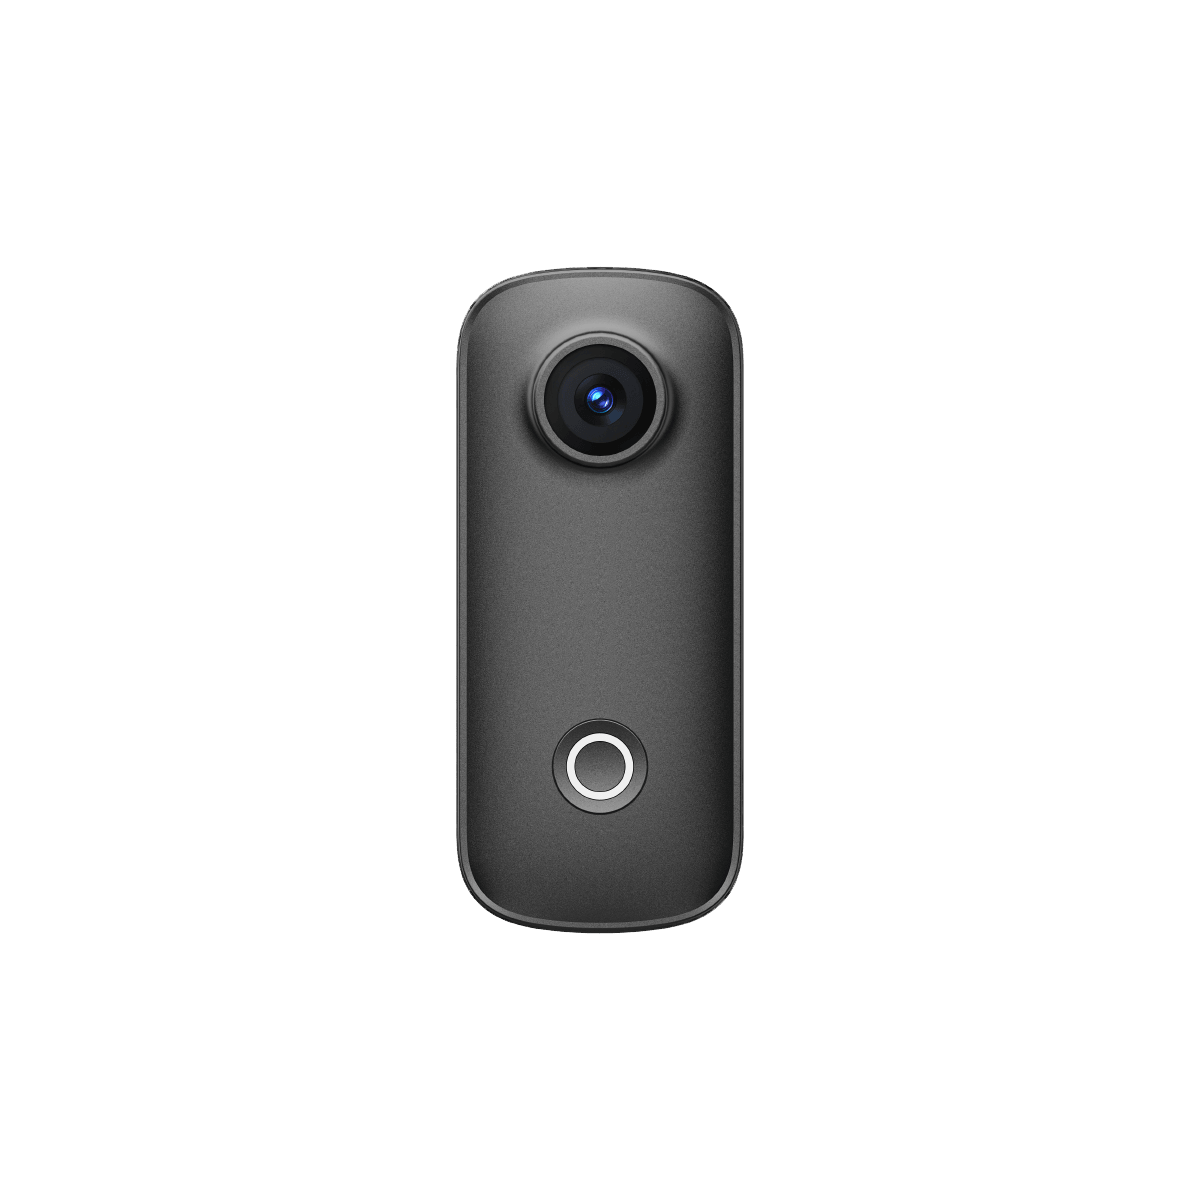
| Daily commuting | SJCAM C110+ | Ultra-compact design, lightweight, easy to mount on helmets, ideal for everyday rides |
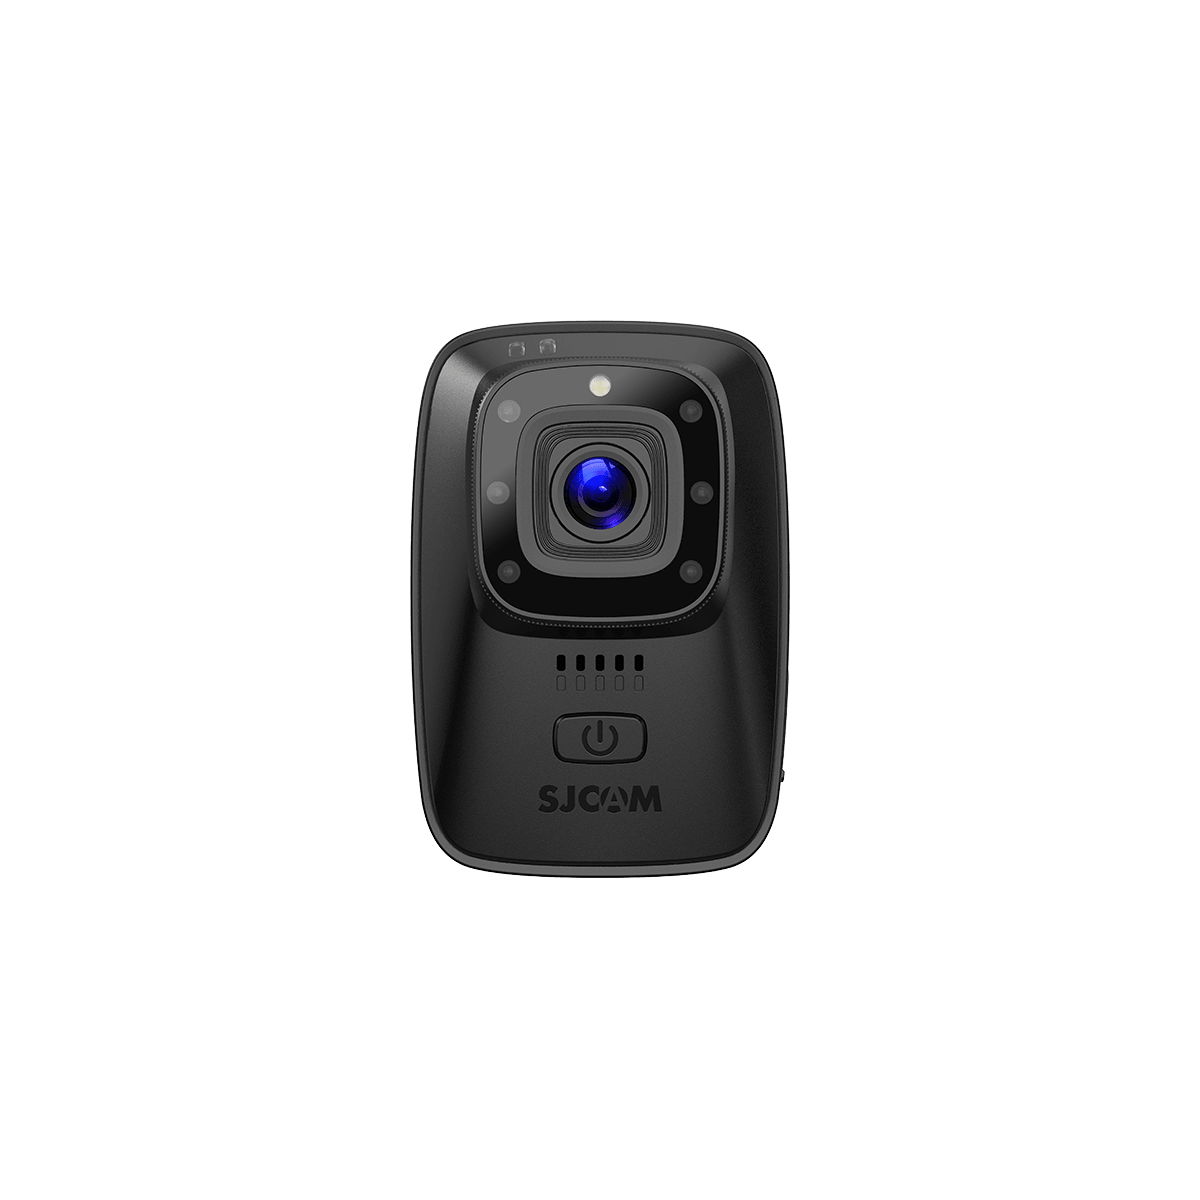
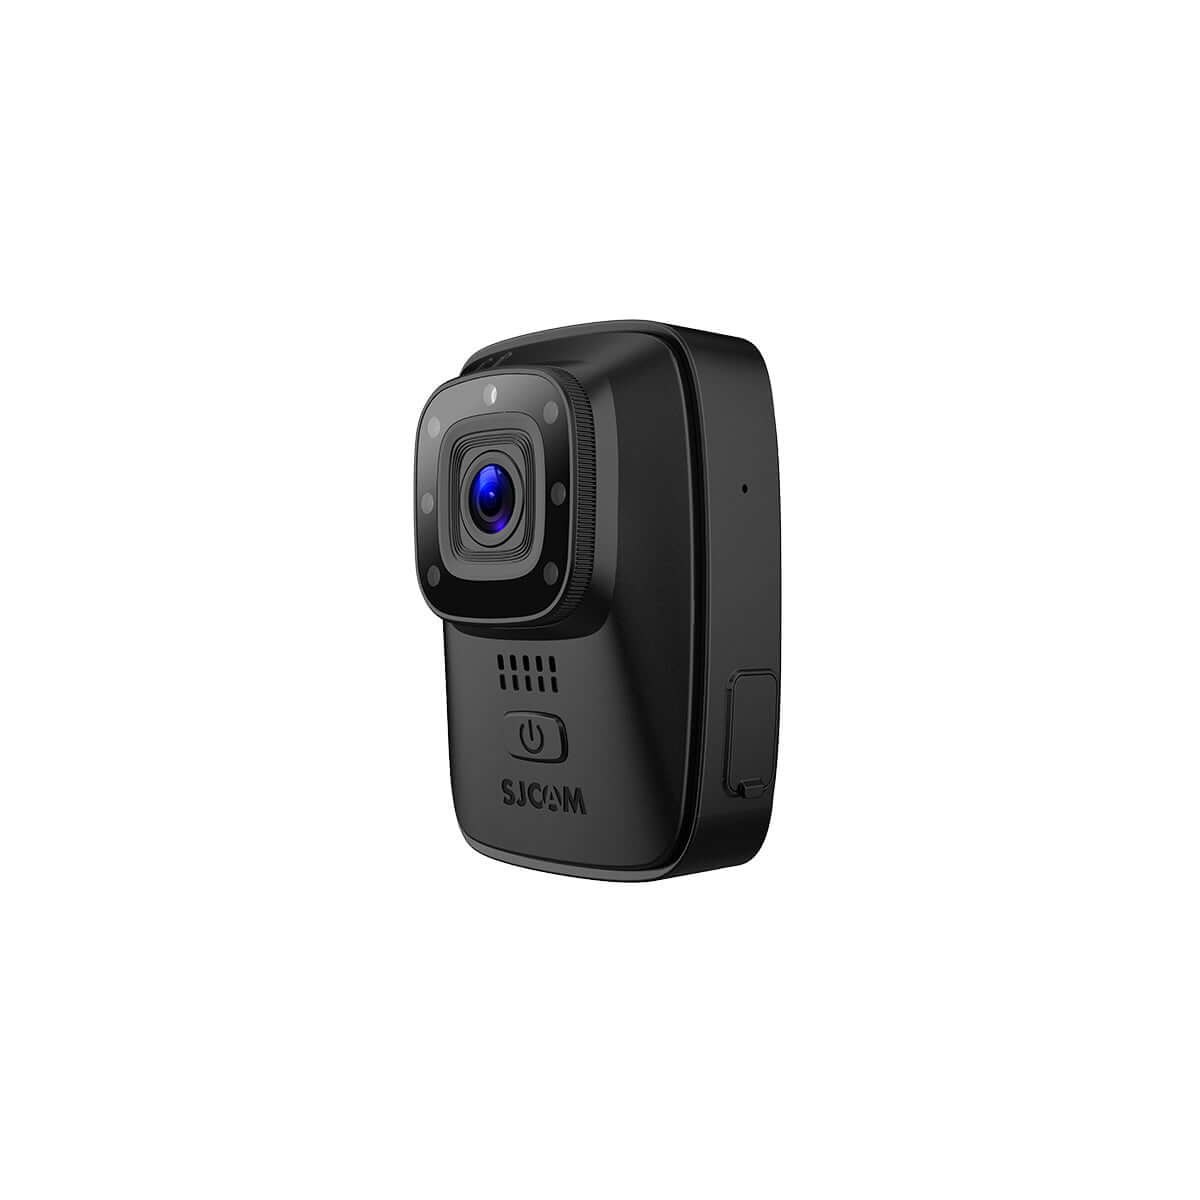
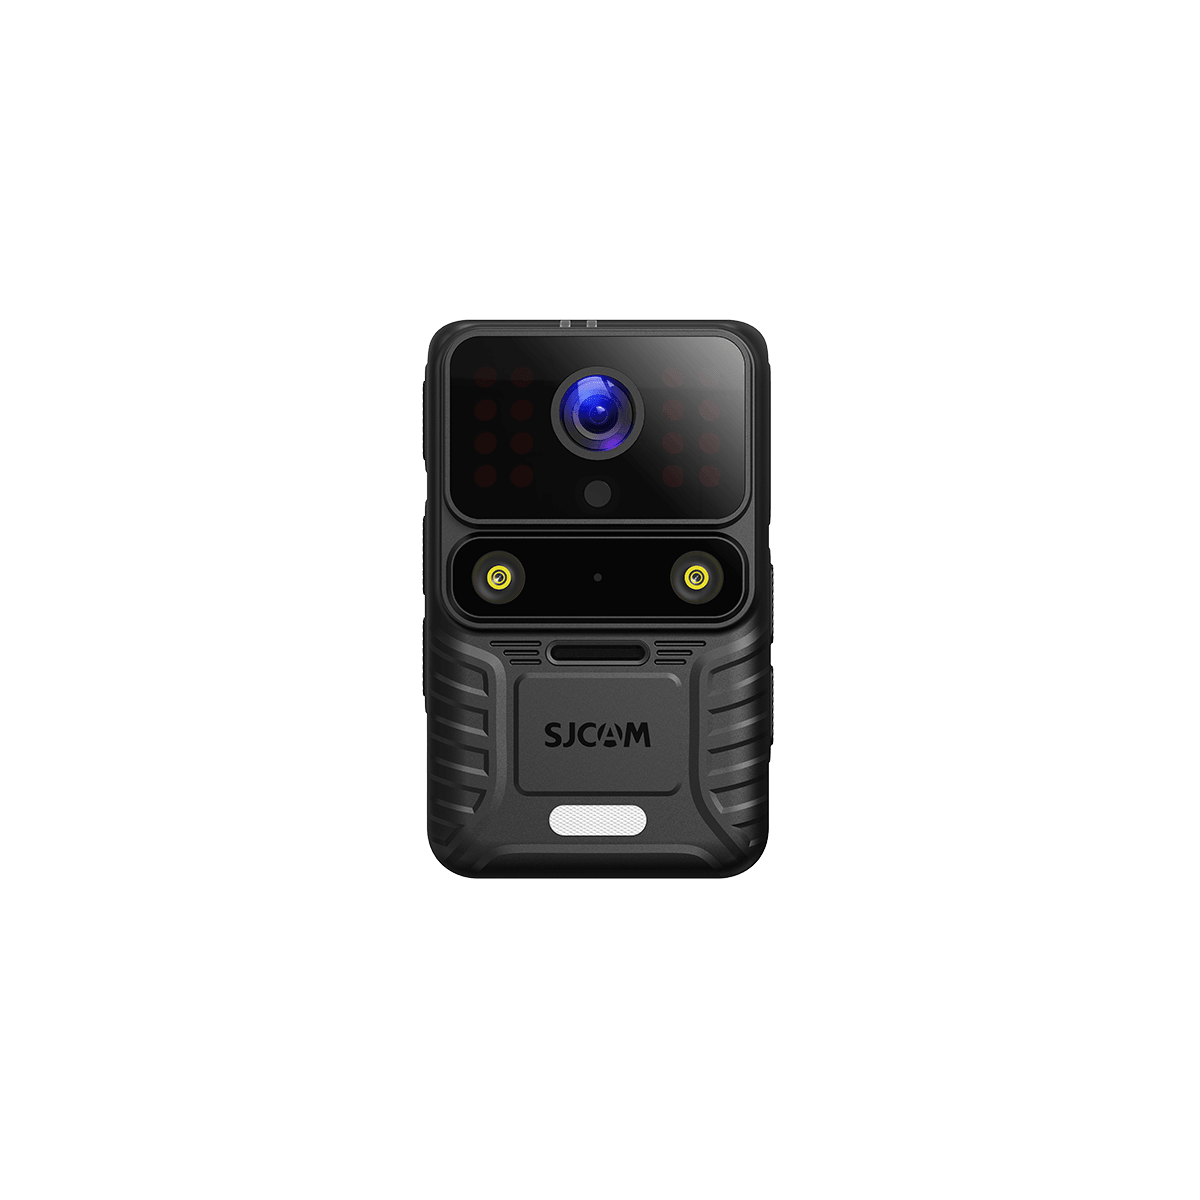
| Touring & motorcycle vlogging | SJCAM SJ6 Ultra | Dual screens, 4K recording, long battery life are excellent for extended rides and content creation |
| Adventure & performance riding | SJCAM SJ8 Pro | High-resolution recording, advanced stabilization, and premium image quality for demanding riding conditions |
SJCAM C110+—Best for Everyday Riding
If you're looking for a lightweight camera that won't add unnecessary bulk to your helmet, the SJCAM C110+ is an excellent choice.

Its compact, cube-style design makes it easy to mount on a helmet without affecting comfort, even during longer rides. Despite its small size, it captures crisp footage that's perfect for daily commuting, weekend rides, and casual motorcycle adventures.
Ideal for:
- Daily commuting
- Urban riding
- Weekend trips
- Riders who prefer a lightweight setup
Frequently Asked Questions
1. Where is the best place to mount an action camera on a motorcycle helmet?
For most riders, the chin mount provides the best balance of perspective, stability, and comfort. Because the camera sits close to your natural eye line, it captures footage that closely matches what you see while riding.
If your helmet design doesn't accommodate a chin mount, a side mount is usually the next best option.
2. How long should I wait before using an adhesive helmet mount?
Most manufacturers recommend allowing adhesive mounts to cure for at least 24 hours before attaching a camera. If possible, waiting 48 hours provides an even stronger bond, particularly if you'll be riding at highway speeds or in hot weather.
Using the mount too soon can reduce its long-term reliability.
3. Does mounting a camera on my helmet affect safety?
A properly installed action camera adds only a small amount of weight to your helmet, but it can slightly affect aerodynamics at higher speeds.
To minimize risks:
- Use a high-quality mount designed for motorcycle helmets.
- Attach a safety tether as a backup.
- Regularly inspect the mount for signs of wear or loosening.
- Always follow local laws and helmet manufacturer recommendations.
4. Which camera settings are best for motorcycle riding?
For most daytime road rides, 4K resolution at 60 fps with electronic image stabilization enabled provides an excellent balance of detail and smooth motion.
If you're riding at night, lowering the frame rate to 30 fps can improve low-light performance by allowing the camera to capture more light.


