






SJCAM C400 Pro First Use Tutorial: Complete Setup Guide for Beginners
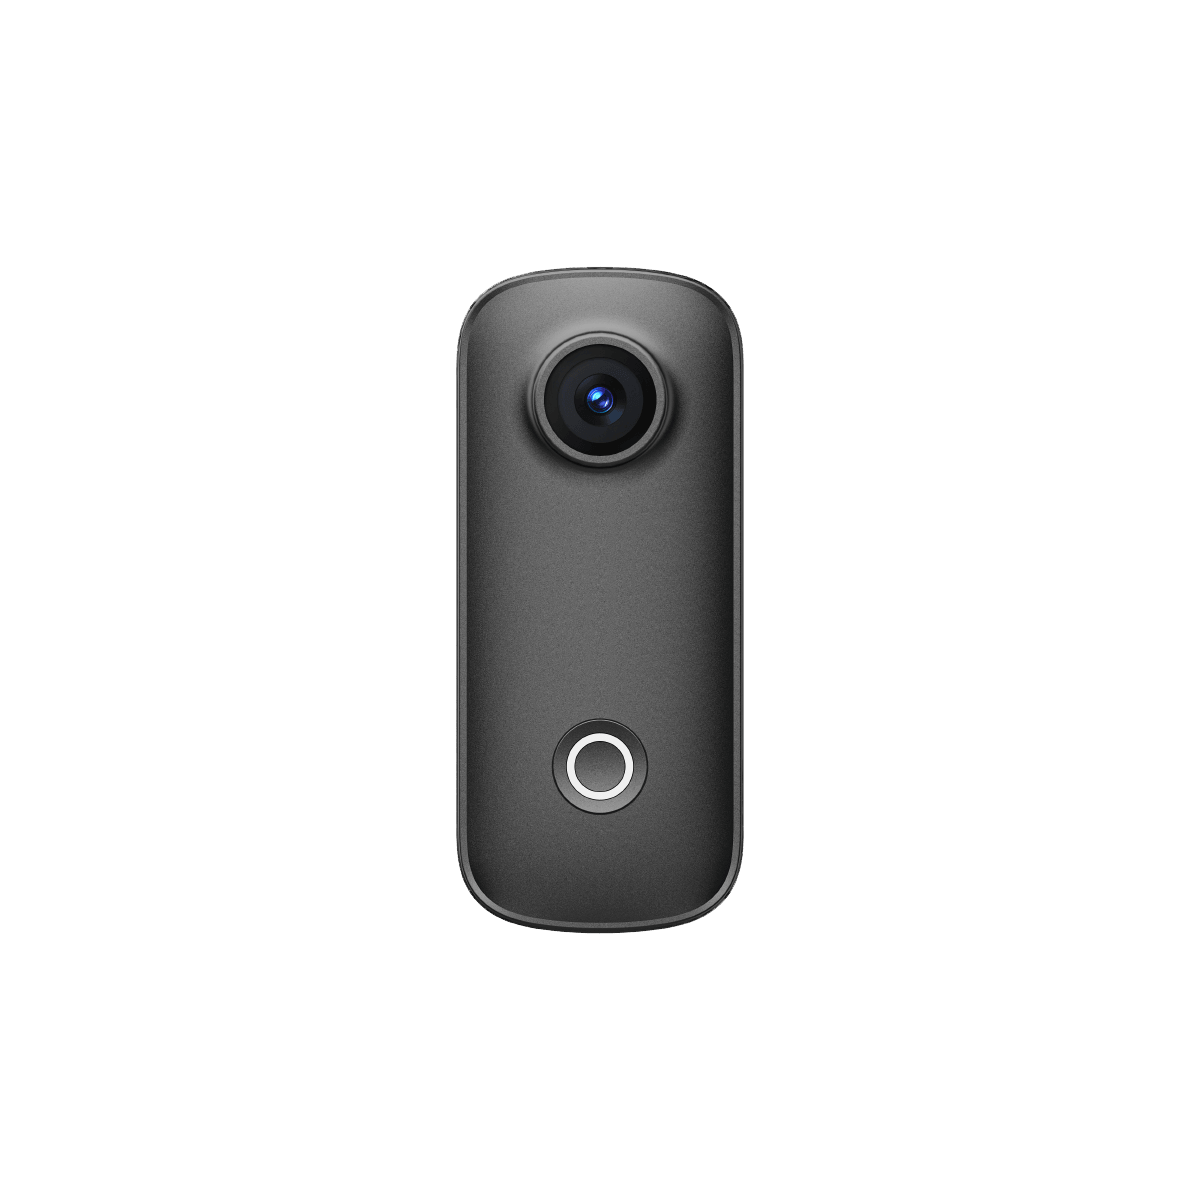
The SJCAM C400 Pro is a versatile 4K handheld action camera with a unique detachable design. You can use it as a compact pocket camera or attach the wireless handheld controller for comfortable vlogging, extended battery life, and easier framing. This complete first-use tutorial walks you through everything you need to know right after unboxing—from installing the controller and microSD card to powering on, shooting, switching screens, and charging.
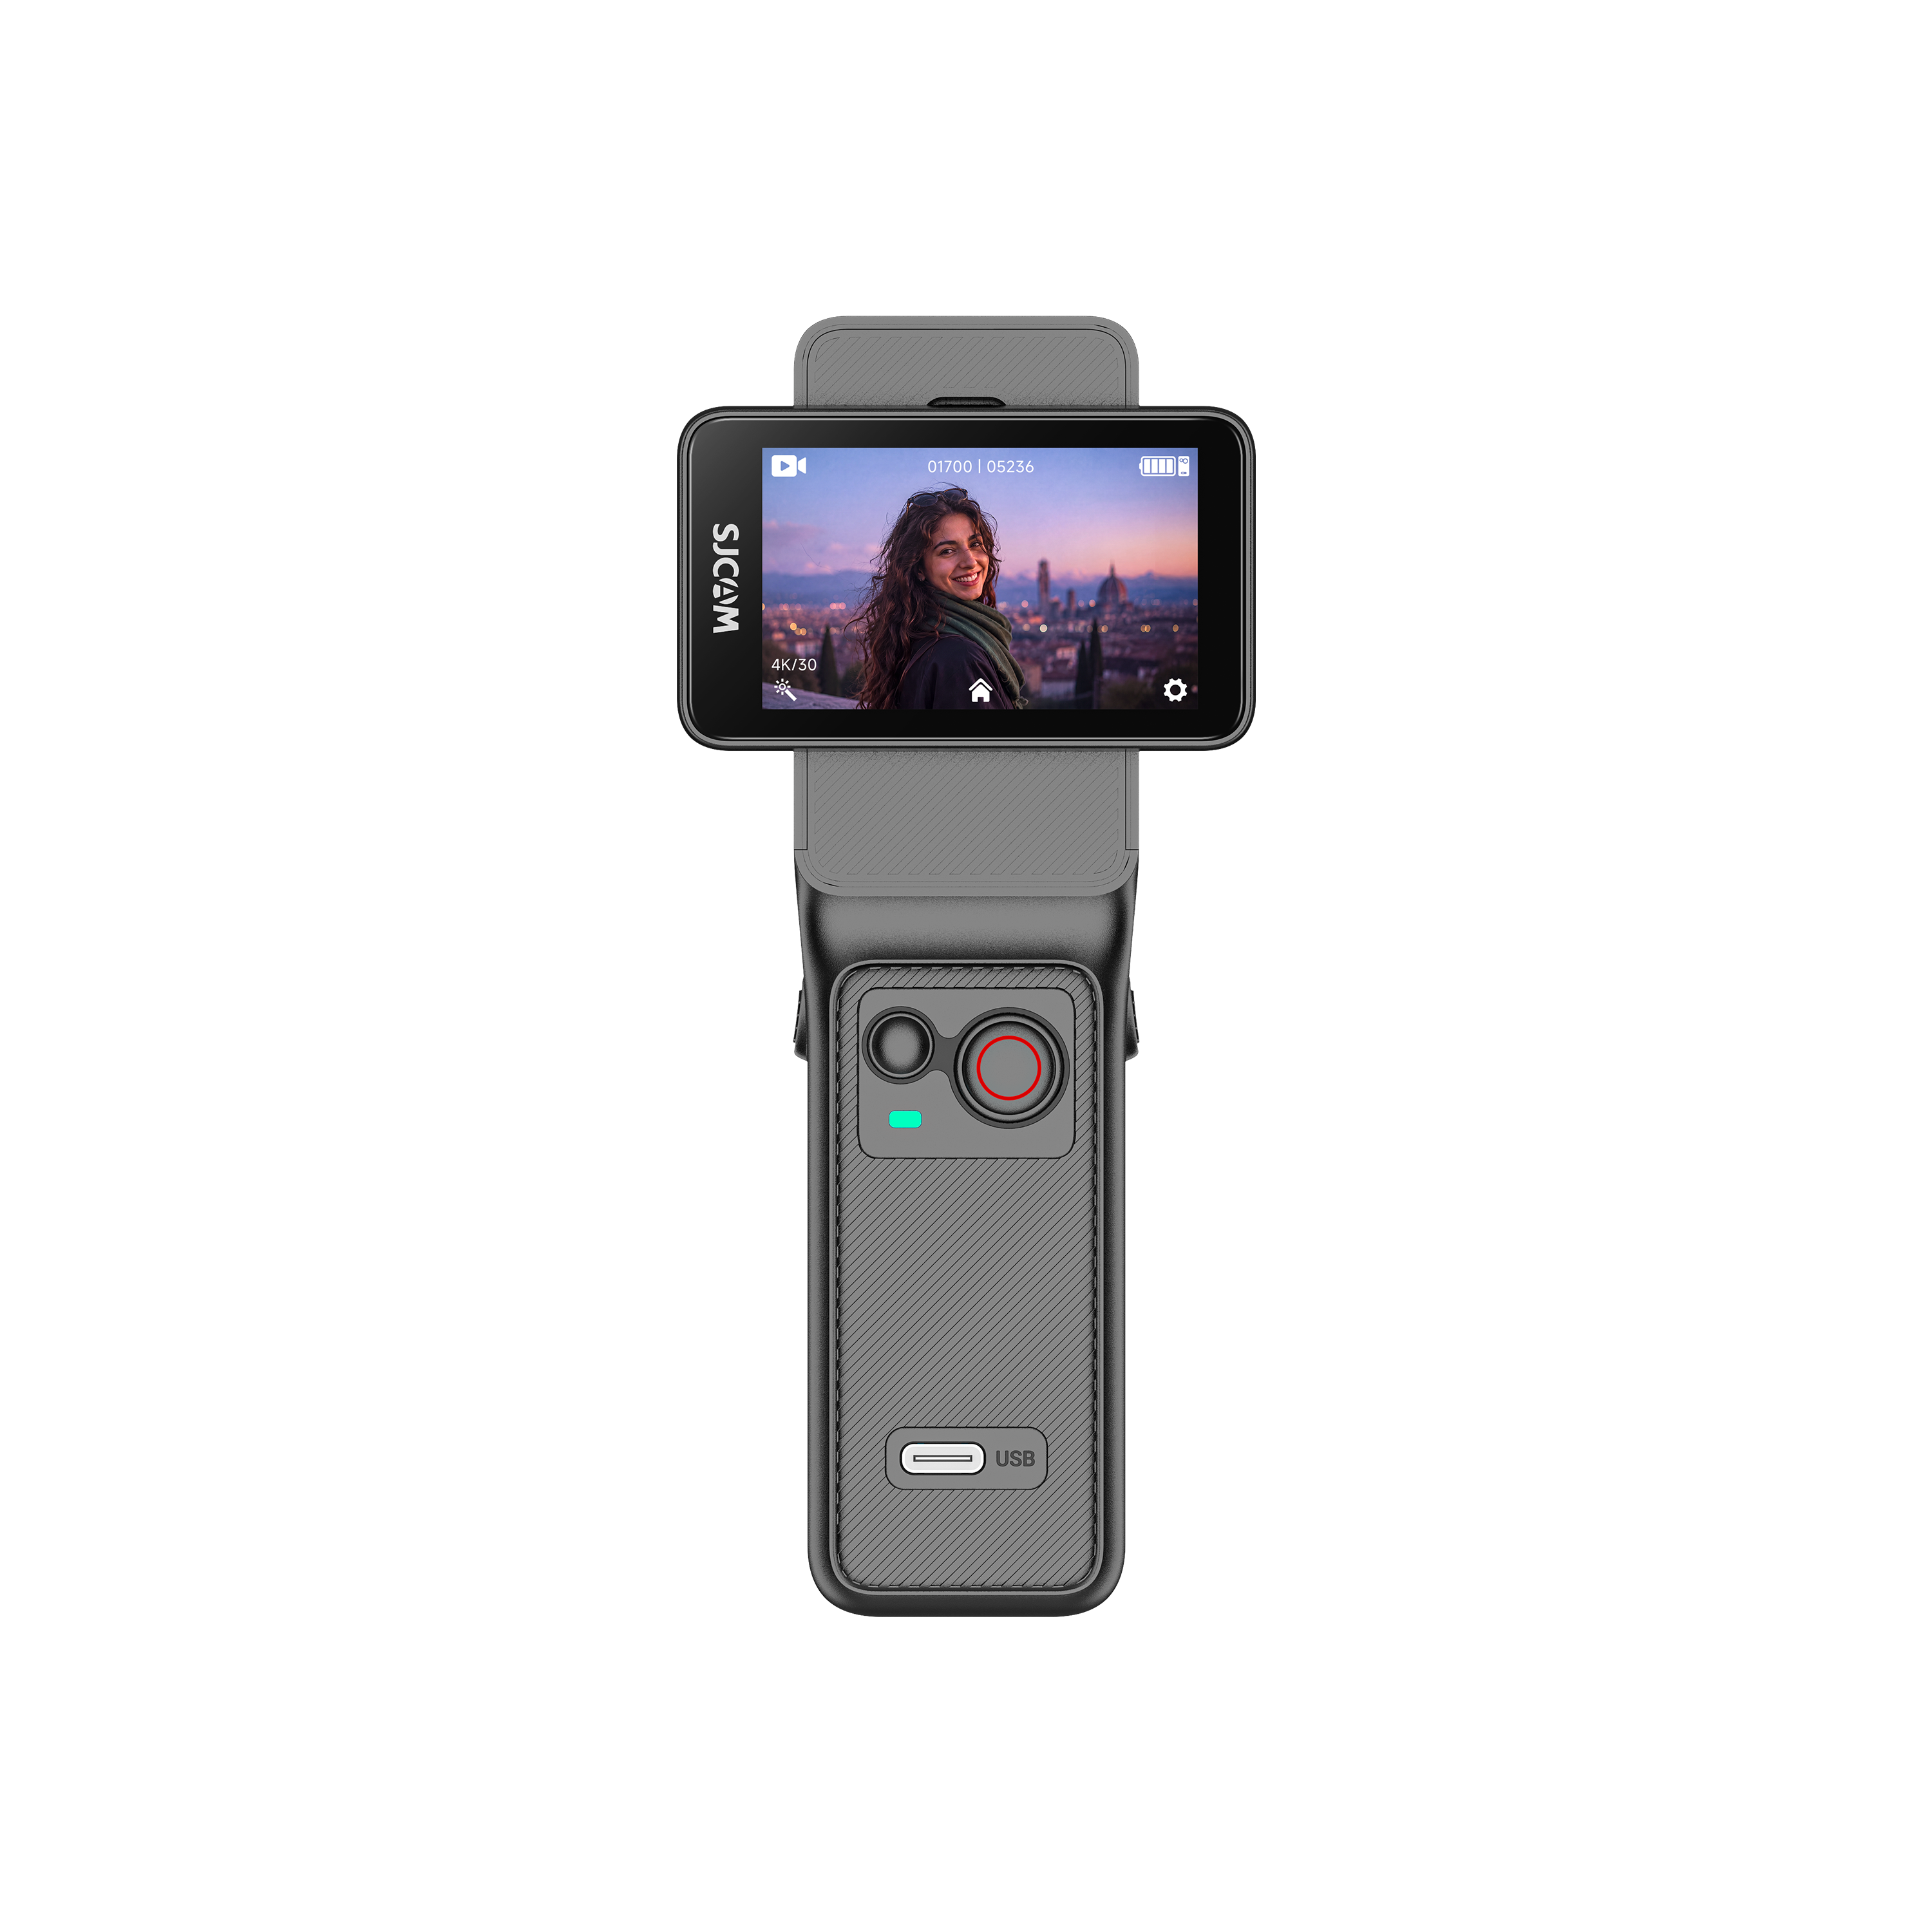
Installing and Removing the Handheld Controller
The handheld controller is one of the C400 Pro’s biggest advantages. It both controls the camera and charges it at the same time.
To install the camera on the controller:
- Press and hold the release buttons on both sides of the controller.
- With the main camera lens facing outward, insert the camera vertically into the controller.
- Release the buttons to lock the camera securely in place.
To remove the camera:
- Press and hold the release buttons on both sides again.
- Pull the camera upward to detach it.
Once removed, the main camera can be used independently as a lightweight POV or pocket camera.
Installing a microSD Card
- Make sure the metal contacts of the microSD card face inward.
- Insert the card into the slot and push it all the way in until you hear a click.
- If the card is correctly oriented but difficult to insert, gently push it in with a card ejector tool.
Always confirm the card is fully seated before powering on the camera.
How to Power On and Off the C400 Pro (3 Methods)
The C400 Pro offers three convenient ways to turn the camera on and off:
Method 1 – Rotate the Screen
- Rotate the screen clockwise to power on. The controller indicator will stay solid green.
- Rotate the screen counterclockwise to power off.
Method 2 – Controller Power Button
- Press the power button on the handheld controller to turn the camera on (solid green indicator).
- Press and hold the same button for 3 seconds to power off.
Method 3 – Camera Power Button
- Press the power button on the main camera body. The camera indicator will stay solid blue when powered on.
- Press and hold the camera power button for 3 seconds to turn it off.
Taking Photos and Recording Videos
The camera starts in video mode by default.
- Press the record button on the handheld controller to start recording or take a photo. Press it again to stop.
- You can also use the record button directly on the main camera body for the same functions.
Additional controls:
- Swipe down on the shooting screen to open the shortcut menu.
- Tap the playback icon to review your photos and videos.
- Select a file and tap the play button to preview it.
- Use the delete icon to remove individual files, delete all files, or format the microSD card.
- Swipe left or right on the shooting screen (or tap the mode icon at the bottom) to quickly switch shooting modes.
- Tap the image settings icon in the lower left corner to adjust resolution and other parameters for the current mode.
Understanding the Shooting Screen & Shortcut Menu
Swipe down from the top of the screen to open the shortcut menu. Here you can quickly toggle commonly used functions such as Wi-Fi and stabilization.
- Tap the image settings icon (lower left) to adjust resolution, distortion correction, stabilization, WDR, watermark, and more.
- Tap the settings icon (lower right) to access system settings. From here you can change the language, pair a wireless microphone, enable voice control, format the microSD card, or restore factory settings.
Switching Between Front and Rear Screens
The C400 Pro supports easy switching between its front and rear screens.
While the camera is on, simply tap the inactive screen and swipe upward. The selected screen will become active, making it convenient for selfies, vlogging, or traditional framing.
Charging the C400 Pro
You can charge the C400 Pro through the USB-C port on either the main camera or the handheld controller.
- Connect a USB-C charging cable to either port.
- During charging, the indicators on both the controller and the main camera will stay solid red.
- The red indicators turn off when charging is complete.
Pro Tips for New Users
- Fully charge the camera and controller before your first real shoot.
- Format new microSD cards in the camera for best compatibility.
- Experiment with stabilization settings based on your activity.
- Enable voice control for hands-free operation when needed.
- Keep the detachable design in mind—use the controller for long vlogging sessions and the compact camera body for POV or lightweight shooting.
Frequently Asked Questions
How do I attach the camera to the handheld controller?
Press and hold the release buttons on both sides, insert the camera vertically with the lens facing out, then release the buttons to lock it.
What are the three ways to power the C400 Pro on and off?
You can rotate the screen, use the controller power button, or use the power button on the camera body itself.
Can I use the main camera without the controller?
Yes. Once detached, the main camera works independently as a compact action camera.
How do I know when the camera is fully charged?
The red charging indicators on both the camera and controller will turn off.
Ready to Start Creating?
After following these steps, your SJCAM C400 Pro is fully set up and ready for everyday vlogging, travel, and creative projects.
Shop the official SJCAM C400 Pro here:
Enjoy your new camera and start capturing moments with greater flexibility and better image quality!


